Learn how to grow your own arugula at home hydroponically / aeroponically from certified hydroponic grower, Erin Castillo of Grow Your Health Gardening and GYHG Seed Co.
Quick Links:
• Jump to Starting Arugula from Seed
• Jump to Arugula Hydroponic Growing Guide
• Jump to Arugula Nutritional Information
• Jump to How to Use Arugula
• Or continue to read the article… enjoy!
Why you should be growing your own arugula instead of buying from the grocery store or Big-Box Retailer
You know how you go to a fancy restaurant and they bring you your salad course and before they leave your table they offer fresh pepper for your salad and with your permission proceed to grind cracked pepper onto your salad? Think of arugula as your cracked pepper of the salad world.
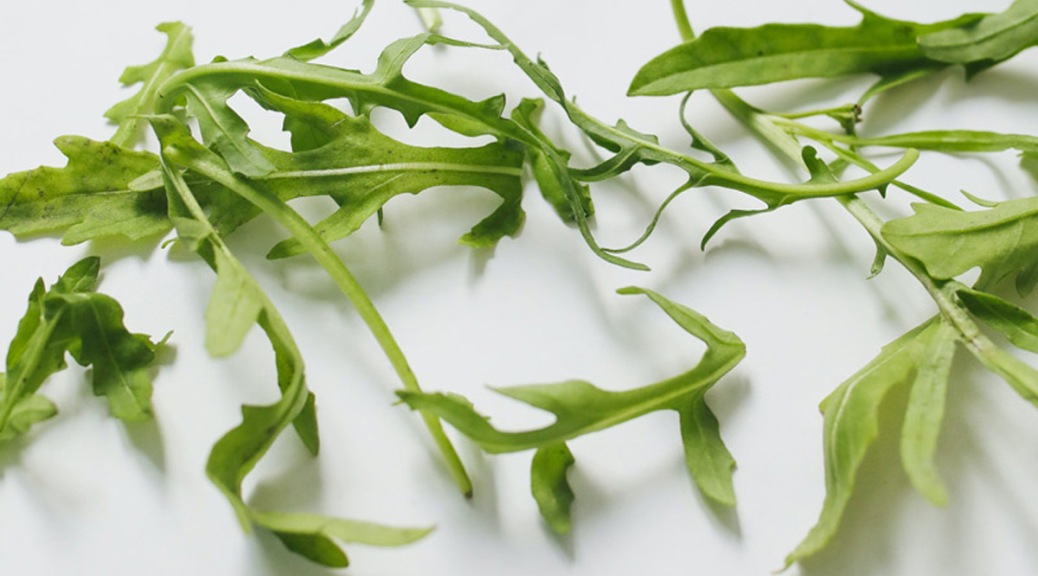
Why Grow Arugula and How To Use It
I wanted to feature Arugula, because I just don’t think people understand how versatile this plant truly is and that it is beneficial in so many ways. It is chalk-full of beneficial nutrients (which we will cover later in case you wanted to know) while also being low in calories.
It is ideal for new home gardeners in building confidence of gardening skills as it grows quickly from seed (aptly nicknamed “Salad Rocket” in some countries) and can begun to be harvested off of and tossed into salads with other greens when the leaves are still young and small at 2″-3″ in length. (Note: If you leave the center 3-4 leaves, it will continue to produce as a cut-and-come-again plant.) Arugula is often found in the produce aisle in salad greens mix and called “mesclun”.
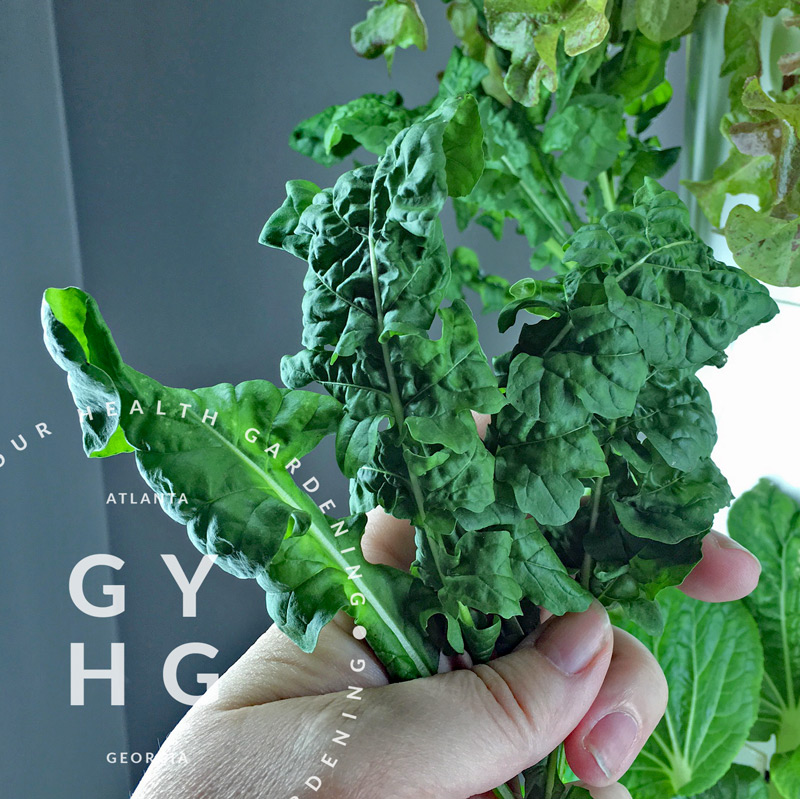
Mature Full-Grown Leaves and How to Use Them
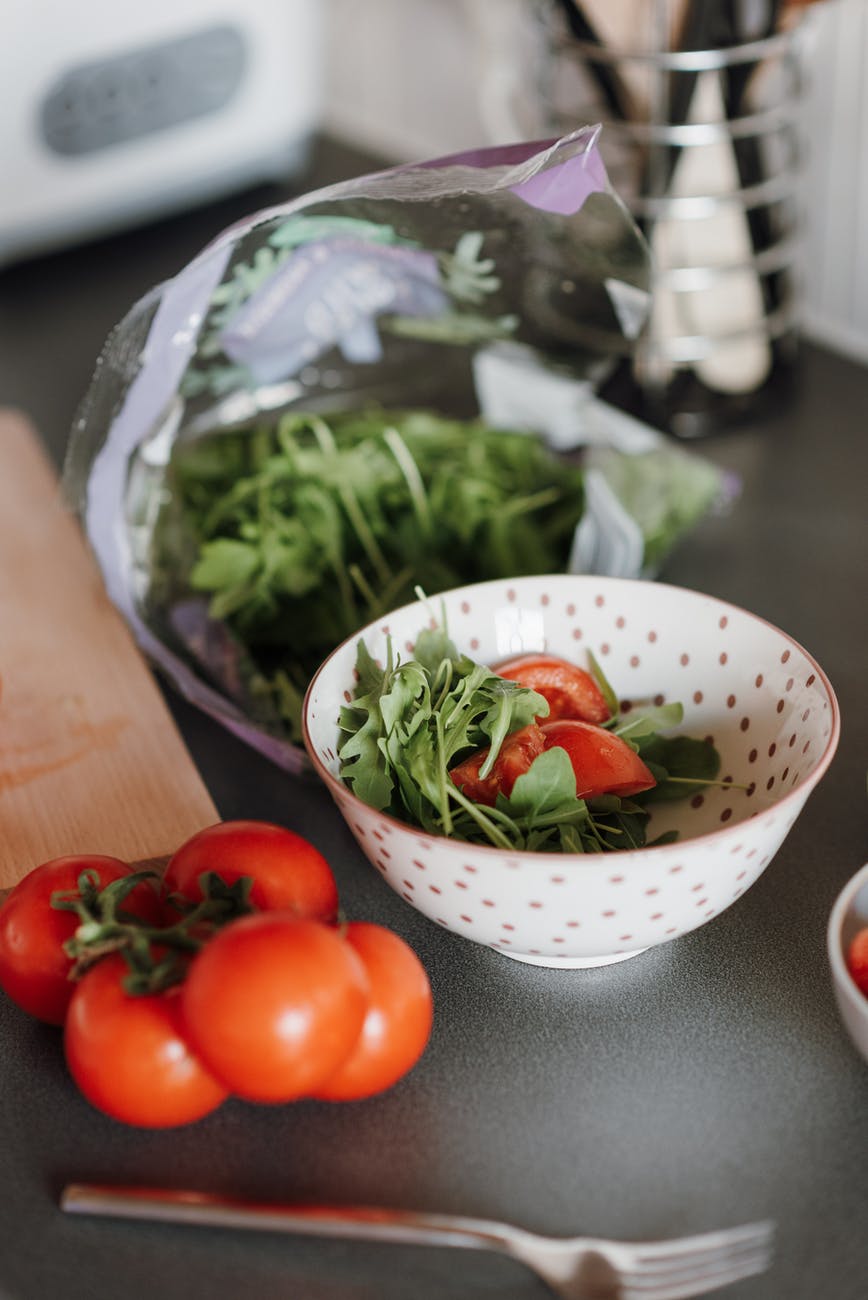
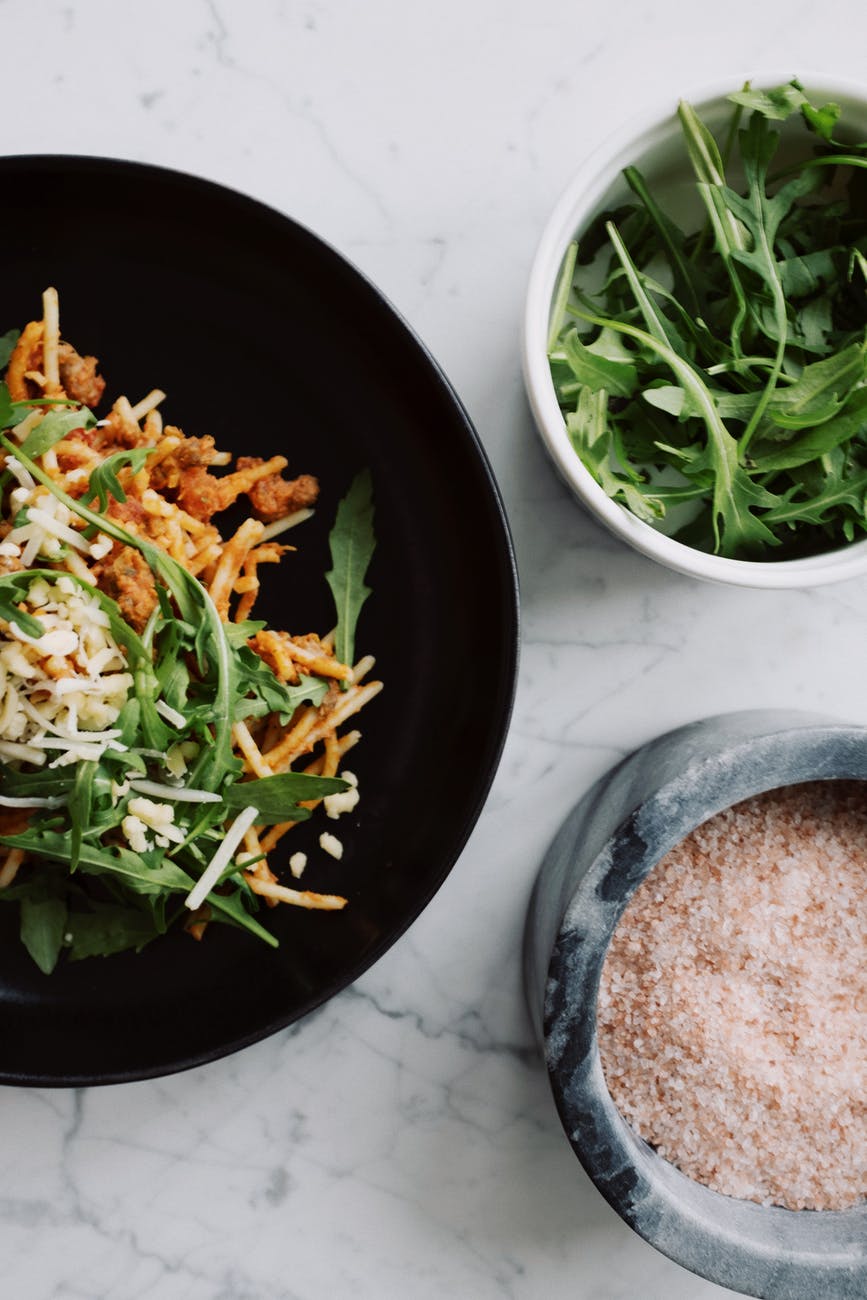
I as a mother of five know that life can get busy, so if you fall behind on harvesting leaves when small and the plant gets more mature, that’s okay! It will be “spicier” or “peppery” in taste as a mature plant. Take these 6″-8″ long leaves and slice them from tip to base into 1/4″ or thinner strips and sprinkle over your salad or mix in (think of it like your freshly ground peppercorn). Diced leaves can even be added to dishes that call for cilantro or parsley, or mixed into pastas, side dishes, put on top of sandwiches, in wraps and/or added to soups. Its flavor compliments goat cheese, balsamic vinaigrette, tomatoes, olive oil and garlic, making it perfect to blend into dips or spreads.
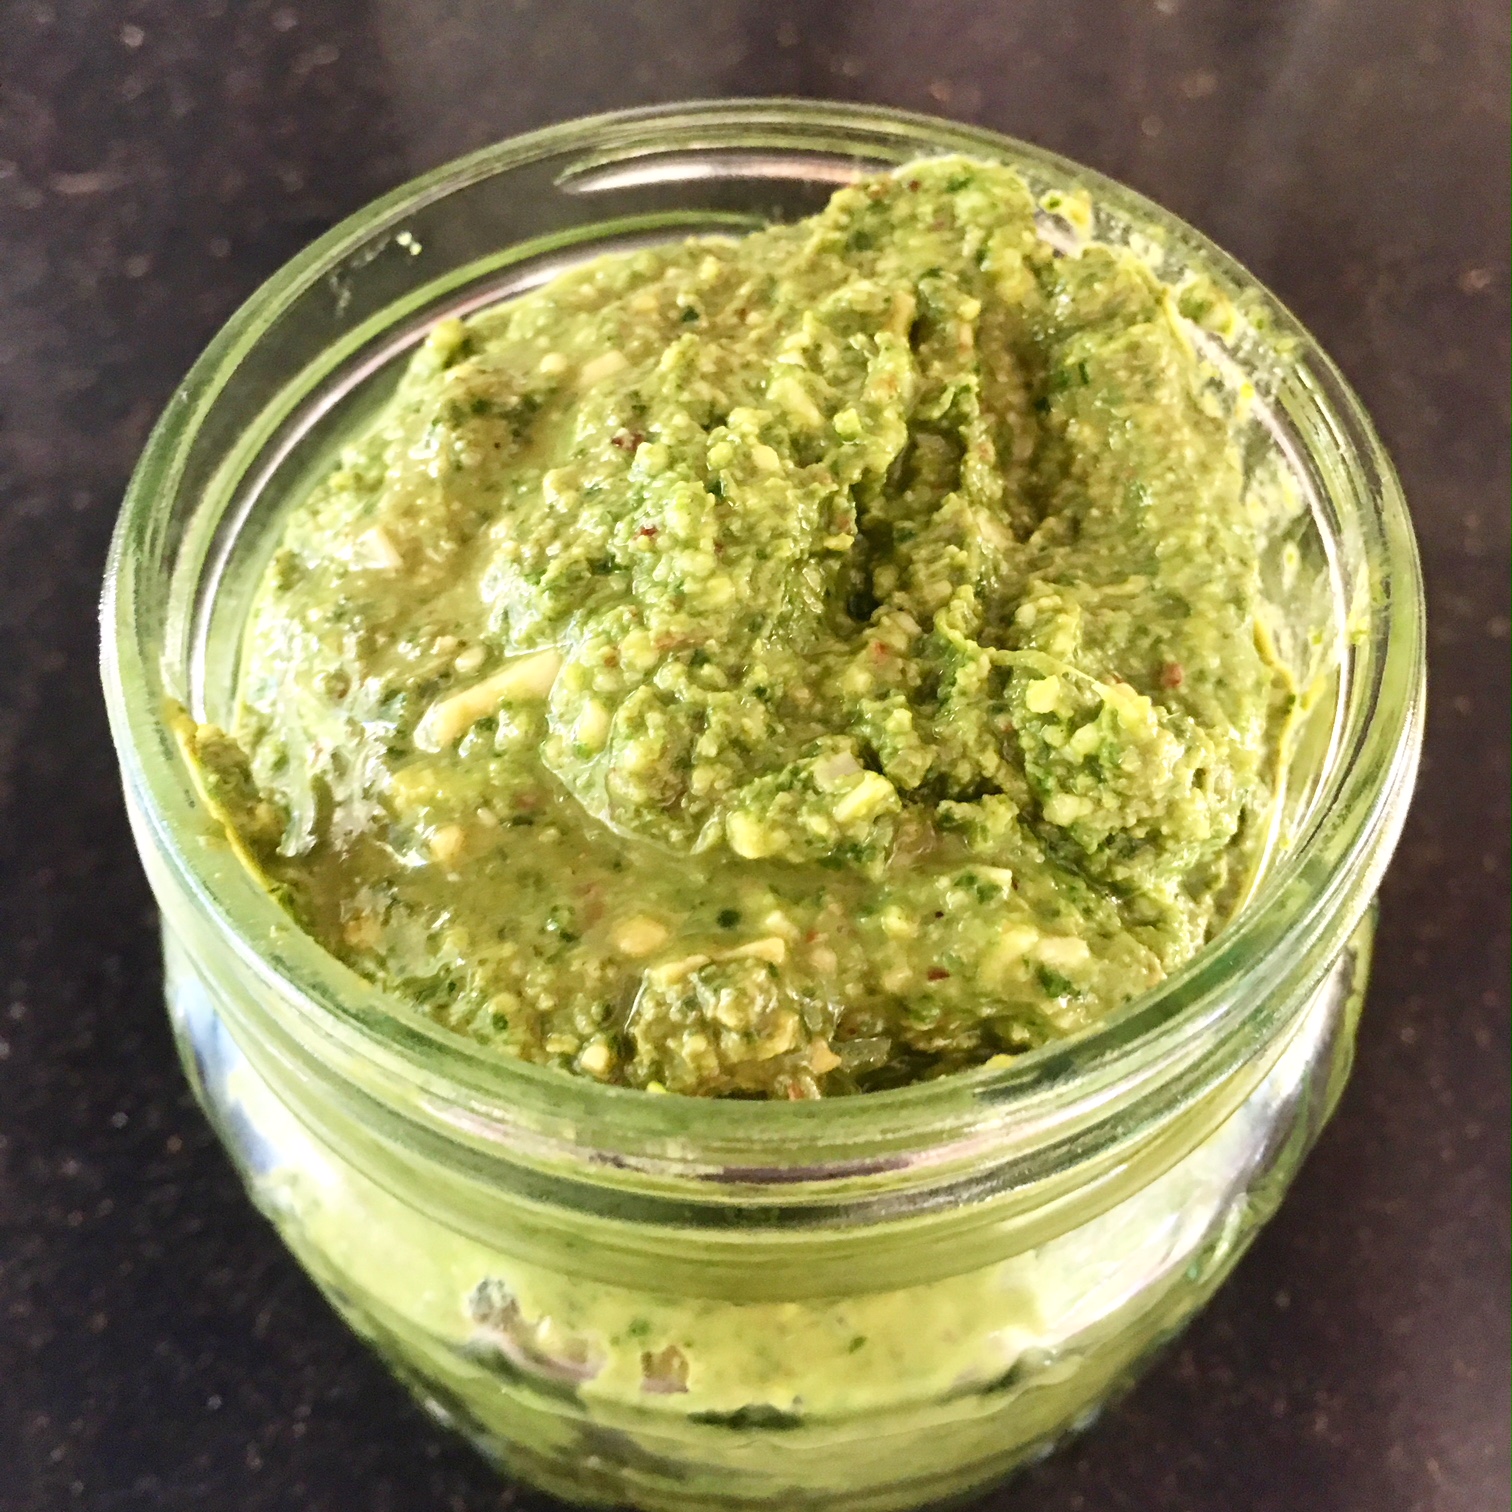
Arugula can also be added to your basil pesto as added flavor or if you like the peppery flavor, you can substitute arugula in place of basil and make an entire pesto out of arugula leaves. We like this happy medium of a pesto recipe in particular over at PCOSbites. It’s great if you are looking for something that isn’t the same ol’ pesto recipe, but full of nutrients while still tasting delicious. We think of it as the new “elderberry syrup” as an immune-boosting meal for our family.
We also love to add arugula baby leaves to our sun-dried tomato, goat cheese, and pine nut mini pizzas! The kids don’t bat an eye-lash at the greens on their personalized pizzas because these taste so good!
Mature leaves can also be cooked or sautéed much like you would cook collards. With a TBSP of sherry, soy sauce, minced garlic, and vegetable oil + 1/2 tsp of salt and granulated sugar you can have a quick healthy side dish to accompany your sun-dried tomato mozzarella chicken. YUM!

If you don’t plan on eating a salad and just want to move it out of your system to put something else in, simply clean harvested leaves with water and pat dry with paper towels and spread out on a dehydrator. Dehydrate at 110ºF for 6 hrs until it breaks crisp (no moisture left in leaves.) Do not crush leaves, but place in a glass jar with an oxygen absorber and put in your spice and seasoning cabinet. When a recipe calls for pepper or if you’re making a soup, simply add in your dried arugula. BAM! (As Emeril would say…) or YUMMO! (As Rachel Ray would say…) You will get a hint of that pepper flavor as well as all the amazing nutrients that this little power-packed leaf holds.
Tip: After you dehydrate your arugula, don’t crush the leaves. Store the leaves as one piece as much as possible. When you “crush” or break up the leaves, it releases the flavonoids and other beneficial nutrients. We want those to stay in tack until we are ready to consume it in our cooking, so I always encourage folks to hold off crushing your leaves for this reason. This is also why you may notice your home-grown herbs and spices have so much more flavor than the crushed and processed ones from the grocery store.
—Erin Castillo, Owner Grow Your Health Gardening and GYHG Seed Co.
Nutritional Benefits You’ll Get from Eating Arugula
So, we’ve covered how to use arugula. Let’s briefly touch on why you should be eating this green. According to the USDA, a half cup (approximately 10 grams) of raw arugula has about:
- 2.5 calories
- 0.4 gram carbohydrates
- 0.3 gram protein
- 0.1 gram fat
- 0.2 gram fiber
- 10.9 micrograms vitamin K (14 percent DV)
- 237 international units vitamin A (5 percent DV)
- 1.5 milligrams vitamin C (2 percent DV)
- 9.7 micrograms folate (2 percent DV)
- 16 milligrams calcium (2 percent DV)
In addition, this leafy green contains some iron, magnesium, phosphorus, potassium and choline. It also is rich in phytonutrients offering 1,424 mg of Beto-Carotene B
Did you know that one cup of Arugula can meet over a quarter of the daily recommended value of Vitamin K? Vitamin K is essential to blood clot formation and bone formation. Some researchers even believe that vitamin K may be a key factor in bone development, more so than calcium. I want my children to have strong bones as they grow and I encourage them to eat salads daily. One way to help provide their bodies with what they need is to mix in some arugula into their daily salad.
Tip: If you’re having difficulty getting your children to eat greens, involve them in the growing process. Give them a garden that is completely their own area to tend and help them grow plants from seed. As they feel more connected to their food, their natural curiosity will kick-in and they will willingly try the food they have patiently waited for to grow.
—Erin Castillo, Owner Grow Your Health Gardening and GYHG Seed Co.
How to Grow Arugula in a Hydroponic System
In this article, I’ll focus on growing it hydroponically, because that’s my preferred method of growing, but a lot of the same tips can be applied to growing in soil.
You can grow arugula in any hydroponic or aeroponic system. In a vertical garden growing system like the Tower Garden or Farm Stand, you’ll want to place this plant towards the top as you will most likely be harvesting from it continuously and keeping the plant size small.
Starting your arugula from seed:
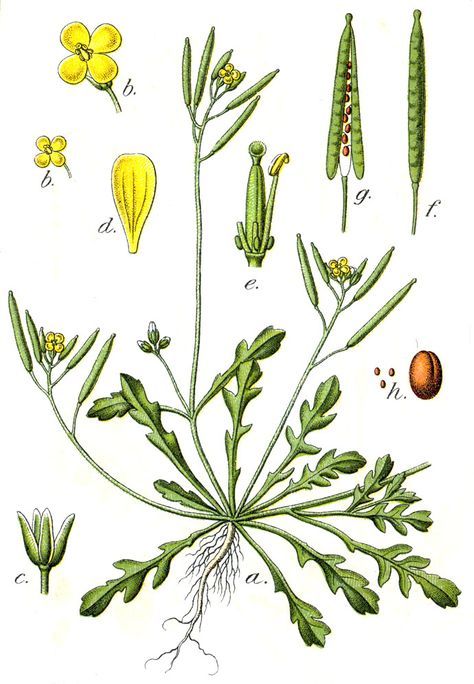
Choosing your arugula variety
If you’re growing in a hydroponic / aeroponic system, we strongly recommend you opt of seed that has already adapted to these growing conditions. Can seed from soil-grown parent plants grow hydroponically? Absolutely, but plants adapt epigenetically each growing season, so you’ll have a stronger healthier plant if you start out right with seed that has already adapted to the growing conditions you want to match. According to growers at the Seed Savers Exchange, seed DNA can hold 5+ years of growing seasons in which it can tap to survive and thrive. Choosing your seed stock source is more important than most realize.
Our arugula seed has been grown outdoors in the cool season of the Southeast in Zone 7 (not mentioning the zone here because it’s a perennial, but to help you get an idea of where the seed is grown so you can best match it to your own growing conditions.) GYHG Seed Co arugula seed can handle heat and humidity to a point before it bolts, but definitely plan on growing this during the cool season and start your seedlings 2 weeks before your last average frost date with the intention to move it outdoors as a transplant.

How many plants should you plant:
If you are wanting arugula on hand to pick fresh and mix into salads, I recommend planting four plants on a rotation (see below charts.) Place in upper level of Tower Garden or Farm Stand.
This is also a seed that you will want to plant on a continual basis on a four to five week cycle, so if you don’t have a Seed Starting Station set up already, you will want to read up about how to get one set up here. We recommend to plant four plants and keep them in your upper level of your Tower Garden or Farm Stand vertical garden growing system.
| Week 1 | Week 2 | Week 3 | Week 4 | Week 5 |
|---|---|---|---|---|
| Start 2 rockwool cubes | Nurture Week 1 seeds | Start 2 rockwool cubes | Nurture Week 3 seeds | Start 2 rockwool cubes |
| Transplant Week 1 Seedlings into TG | Transplant Week 3 Seedlings into TG | |||
| Harvest baby leaves | Harvest baby leaves |
| Week 6 | Week 7 | Week 8 | Week 9 | Week 10 |
|---|---|---|---|---|
| Nurture Week 5 seeds | Start 2 rockwool cubes | Nurture Week 7 seeds | Start 2 rockwool cubes | Nurture Week 9 seeds |
| Pull Week 1 Plants. Transplant Week 5 Seedlings into TG | Pull Week 3 Plants. Transplant Week 7 Seedlings into TG | Continue pattern of pulling older plants and transplanting seedlings | ||
| Harvest baby leaves | Harvest baby leaves | Harvest baby leaves | Harvest baby leaves | Harvest baby leaves |
Arugula needs light to germinate. If you’re ever unsure of what a seed may require for germination, we have a handy resource on our Web site that lists out seeds that require special treatment that you may want to download or bookmark the page.
Outdoor planting in a hydroponics system: If planting in the spring, you will want to start your seeds indoors or in a greenhouse so that your seedling start will be about two to three weeks old by the time your last spring frost date rolls around. If planting in the fall, you’ll want to factor in your harvest date range and count backwards 4-6 weeks from your frost date.
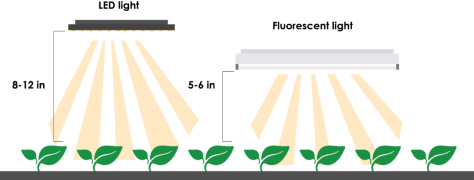
Arugula likes to live around 45° to 65°F (10-18°C). Plant arugula so that it comes to harvest in cool weather. It may fail to germinate if it’s too warm. Use a UV light system of some sort to grow your seedlings indoors keeping the light source 8″-12″ if LEDs and 5″-6″ away from seedlings if fluorescent lighting.
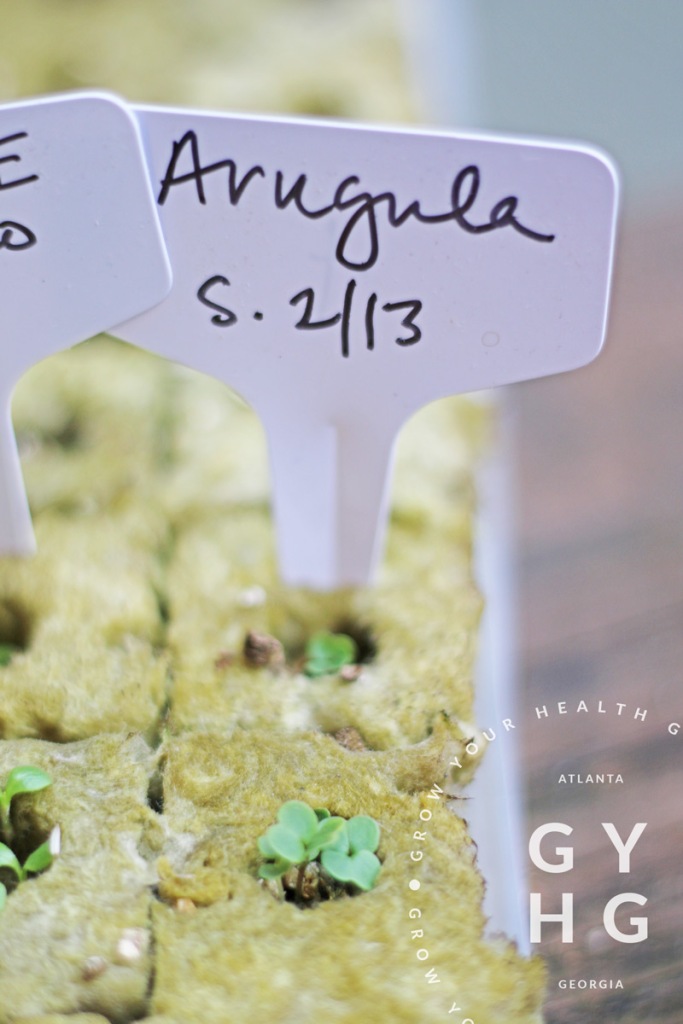
How many seeds to plant per rock wool: We recommend planting about 3-5 seeds per rock wool cube. Arugula typically germinates within 4-8 days. Be sure to use seed that is packaged for the current growing season as it will aide your ability to germinate the seeds. You can always remove any excess seedlings down to two plants as the plants mature if you are concerned about crowding. Our philosophy is start out with more and thin down as needed (but don’t toss those microgreens you pull — they are healthy for you to eat as micro-greens).
How much nutrients you should give your seedlings: Keep rockwool moist to the touch but not drenched. When you see a sprout, you can add a tsp of kelp to your water and water the young seedlings while giving them bright light from a grow light.
Thinning out your seedling starts: As the seeds germinate and grow, you will want to pull (or also called “thin out”) the weaker seedlings from the rock wool. (Remember, this is not a wasted plant — you can simply enjoy eating it as a microgreen.) You will want to leave leave 1-2 plants per rock wool to grow to maturity.
Transplanting your seedlings into your hydroponic system: Seedlings should be ready to transplant to your Tower Garden or hydroponic system about 2–3 weeks after sprouting. Seedlings plants should be about 1-2 inches tall, with 3-4 true leaves, before they are ready to leave the nest and enter into the hydroponic / aeroponic Tower Garden or other related system.
Finally, remember that arugula plantings should be staggered in roughly 2-3 week intervals in order to ensure a continuous harvest. If doing a spring planting, your growing season will be longer than a fall planting. You can extend your fall outdoor planting season by adding a professional grade heater to your Tower Garden reservoir keeping water temps in the 50-65º F range for the root zone to continue to uptake nutrients — just be sure to cover your Tower Garden outside with a weather protection blanket like this when freeze warnings appear.
Nutrient levels for optimal growth throughout the growing season for arugula:
Nutrients:
EC: 0.8 – 1.2
(We recommend Tower Tonic Mineral Blend™ for a well-balanced nutrient solution to feed your plants the proper N-K-P and micro-nutrients. You can purchase a 1 gallon set of Part A and Part B here.)
PPM: 560 – 840
(We recommend Tower Tonic Mineral Blend™ for a well-balanced nutrient solution to feed your plants the proper N-K-P and micro-nutrients. You can purchase a 1 gallon set of Part A and Part B here.)
pH: 5.5-6.2
(pH is essential to help the plant uptake nutrients.)
Light: (Amount of sun or light exposure throughout the day)
Hydroponic arugula should get between 10 and 14 hours of light per day.
Arugula Temp Tips:
(Root zone temp is essential to help the plant uptake nutrients)
- Maximum Temp 75º Degrees Fahrenheit
- Optimal Day Cycle Temp 65º – 70º Fahrenheit
- Optimal Night Cycle Temp 60º – 65º Fahrenheit
(Note: arugula can handle some frost so long as the root zone stays above 50ºF, so use a water heater in your reservoir if you want to try pushing the limits on it growing in the cold.) - Seed Storage 40º to 70º degrees Fahrenheit
- Germination 60º to 75º degrees Fahrenheit
Companion plants:
SOIL Growers: Note — Do not grow in soil with pole beans or strawberries. Good companion plants are bush beans, celery, carrots, nasturtium, mint, dill, lettuce, cucumbers, onions, rosemary, potatoes
HYDROPONIC Growers: See first chart on Cool Season Plants on this page for reference of what grows well at similar PPM ranges and pH ranges in a hydroponic / aeroponic system.
Harvesting your arugula:
Make a note of how many days to maturation on the variety of arugula you are planting and mark your calendar or in your gardening journal. When your plants have reached the baby leaf stage, take a sanitized clean pair of hand trimmers or scissors and cut the outer leaves of your arugula plant, leaving at minimum three center leaves to continue to grow. The plant will continue to produce leaves for you but will become spicier as the plant matures. If you don’t want spicier leaves, simply pull the mature plant at 5-6 weeks of age and replace the plant with a new transplant (see chart above). Ideally, your arugula should be eaten within a few hours of harvest; however, if storage is necessary, the correct conditions to prolong shelf life are rapid cooling down to 34°F (we accomplish this with an ice bath of water) and then spin the leaves dry and place between dry paper towels in a sealed lettuce container with and 95-98% percent humidity.
How to store arugula that is not consumed right away:
If you have more arugula producing faster than you can eat, there are a couple of options: dehydrating or freezing. To dehydrate your arugula leaves, place on a dehydrator rack at 110º F for 6-24 hours. When the leaves are crunchy (you can break them in half), remove from the dehydrator and place in a tightly sealed pouch or Mason jar with an oxygen absorber. Dehydrated arugula can be used in soups and ground into a powder to add to pestos, soups, or even on meats for additional nutrients.
You can also freeze your crop in an air-tight bag or container and use in smoothies or defrost and use in recipes that may call for herbs.
Let us know if you have any questions in the comments below and happy growing!
